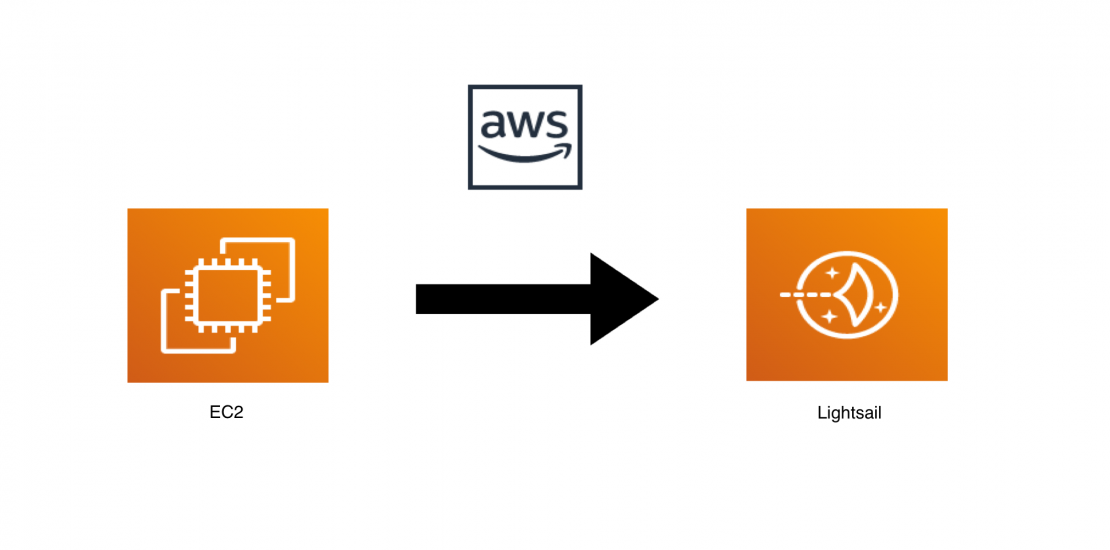
Migrate EC2 WordPress Site to Lightsail
- December 20, 2019
- Posted by: Josh
- Categories: Business Continuity, Web design & development

When I first launched this site I had just started using AWS cloud and decided to use an EC2 server because of the free tier option. While this was great during the first 12 months (free tier elegible), now that the free tier is no longer an option, I decided to migrate to an Amazon Lightsail instance to save money. At the time of writing, the cost for a 512MB Lightsail instance is $3.50 per month, whereas I’ve been paying more than $7.50 per month for a t2.nano instance in EC2.
I regularly use the [Bitnami for WordPress](1) stack for hosting dozens of WordPress sites. They are extremely easy to setup and once you get the hang of where things are installed compared to a self-install scenerio, they are even easier to use — the very handy control script at /opt/bitnami/ctlscript.sh is your friend. Because everything is stored within the /opt/bitnami directory, backing it all up at once and restoring somewhere else is very easy.
The process is simple and only takes a few minutes.
Step 1 - Backup the existing site
Click here to read my full post with detailed instructions for creating a backup and copying to S3.
SSH into your server
ssh -i /path/to/key.pem bitnami@{ec2_server_ip_address}
Create a full application backup
sudo /opt/bitnami/ctlscript.sh stop
sudo tar -pczvf /home/bitnami/backup/wordpress/full-application-backup-$(date +"%F").tgz /opt/bitnami
sudo /opt/bitnami/ctlscript.sh start
Copy backup file to safe storage location (I’m using an S3 bucket)
aws s3 cp /home/bitnami/backup/wordpress/full-application-backup-$(date +"%F").tgz s3://www.allcomone.com.s3
Step 2 - Launch a new Lightsail instance
- Login into your AWS Console and launch the Lightsail control panel
- Launch a new Bitnami for WordPress instance
- Create and assign a Static IP address for your new instance
Step 3 - Restore WordPress site from the backup in Step 1
SSH into your new instance
ssh -i /path/to/key.pem bitnami@{lightsail_static_ip_address}
Install and configure AWS-CLI
sudo apt update && sudo apt-upgrade -y
sudo apt install awscli
aws configure

paste in your ACCESS_KEY
past in your SECRET_KEY
enter desired default region (mine is us-west-2 for West-Oregon)
type json for output
Copy the backup file we created in Step 1 to current directory (/home/bitnami)
aws s3 cp s3://bucket-name/full-application-backup-$(date +"%F").tgz .
Note: The above command should be adjusted for your use case if all of the above steps do not happen on the same day.
Step 4 - Unpack WordPress backup and relaunch site
These instructions are based on [Bitnami’s documentation, which can be found here](2).
Stop all services
sudo /opt/bitnami/ctlscript.sh stop
Move the current stack out of the way
sudo mv /opt/bitnami /tmp/bitnami-backup
Uncompress the backup to the original directory
sudo tar -pxzvf /home/bitnami/full-application-backup*.tgz -C /
Start all servers
sudo /opt/bitnami/ctlscript.sh start
And that’s it! …well almost, you will still need to update your DNS settings to point your site to the new IP address of your Lightsail instance, but that is outside the scope of this document.
